
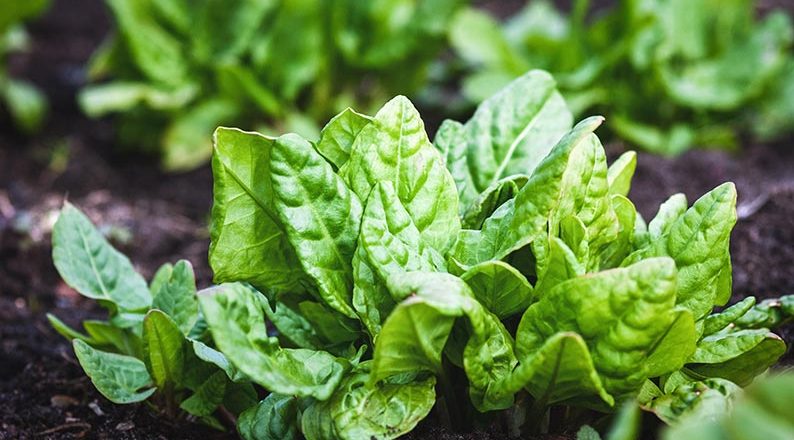
04
Sep
- 7 Proven Secrets to Growing Brilliant, Nutrient-Rich Spinach: Timing, Soil, Temperature, and Top Varieties
- 1. The Right Time: Planting and Harvest Timelines
- 2. The Right Soil: Creating the Perfect Root Bed
- 3. Temperatures & Environmental Limits
- 4. Types and Varieties of Spinach Explained
- 1. Controlling Spinach Leaf Miners Organically
- 2. Preventing Downy Mildew (Peronospora farinosa)
- Pest & Disease Management Matrix
- Companion Planting for Spinach: Repelling Leaf Miners and Boosting Yields
- 1. Best Companions to Repel and Distract Leaf Miners
- 2. Best Companions to Boost Spinach Growth & Yield
- 3. Companion Planting Reference Matrix
- 4. Plants to Avoid Growing Near Spinach
7 Proven Secrets to Growing Brilliant, Nutrient-Rich Spinach: Timing, Soil, Temperature, and Top Varieties
Growing fresh, vibrant spinach in your own garden plot or raised bed is one of the most rewarding pursuits for any home gardener. Packed with essential vitamins, iron, and deep green flavor, homegrown spinach tastes far superior to store-bought leaves sealed in plastic bags. However, despite its reputation as a fast-growing green, coaxing a continuous harvest of crisp, tender spinach requires understanding its unique cool-weather preferences. If warm weather hits too fast or the soil lacks proper drainage, your plants will quickly bolt—sending up bitter flower stalks and ending your harvest early.
By mastering the right planting schedules, building fertile soil, managing thermal limits, and selecting the ideal types of spinach for your culinary preferences, you can enjoy a heavy, delicious harvest from early spring through late autumn.
1. The Right Time: Planting and Harvest Timelines
Timing is everything when cultivating spinach. As a classic cool-season crop, spinach thrives in mild weather and short daylight hours. Planting too late in spring causes young plants to heat-stress, while planting on time yields lush, sweet leaves.
Spring Planting Schedule
For early spring crops, sow seed directly into outdoor beds 2 to 4 weeks before your average last spring frost date.
- Soil Temperature Benchmark: Spinach seeds can germinate in soil temperatures as low as 35°F to 40°F (2°C to 4°C), though optimal germination occurs between 50°F and 70°F (10°C to 21°C).
- Succession Sowing: To maintain a continuous supply of fresh spinach, sow new seeds every 10 to 14 days until late spring temperatures begin to rise.
Autumn and Winter Planting
Autumn is often the absolute best season to grow spinach. Sow seeds 6 to 8 weeks before your first hard fall frost. As autumn temperatures drop, spinach plants concentrate sugars in their leaves as a natural anti-freeze, producing exceptionally sweet, tender foliage. In mild winter climates (or under cold frames), spinach can easily overwinter for an extra-early spring harvest.
2. The Right Soil: Creating the Perfect Root Bed
Because spinach develops a relatively shallow taproot accompanied by fine feeder roots, it requires loose, nutrient-rich soil to thrive. Heavy clay that bogs down with water leads to root rot and poor leaf development.
Ideal Soil Conditions for Growing Spinach
To construct an optimal root zone for spinach, aim for soil parameters that meet these essential criteria:
- Soil Structure: Light, well-draining sandy loam enriched with plenty of well-rotted organic matter or compost.
- Soil pH Range: Slightly acidic to neutral, ideally between 6.5 and 7.0. Spinach is notoriously sensitive to acidic soils; a pH below 6.0 severely restricts nutrient availability, leading to yellowing leaves and stunted growth.
- Nitrogen Balance: Spinach is a heavy feeder that requires steady nitrogen to produce dark green, leafy foliage. Incorporate rich compost or blood meal into growing beds before planting.
| Soil Parameter | Target Range | Function for Spinach |
| pH Level | 6.5 – 7.0 | Maximizes nutrient uptake and prevents leaf yellowing |
| Structure | Well-Draining Sandy Loam | Allows feeder roots to expand without standing water |
| Organic Matter | 20–30% Aged Compost | Retains consistent moisture while releasing nitrogen |
| Drainage Rate | High | Prevents root rot and soil-borne fungal pathogens |
3. Temperatures & Environmental Limits
Temperature is the main factor governing the growth cycle of spinach. Warm air and long summer days act as environmental triggers, instructing the plant to stop growing leaves and start producing seed stalks (bolting).
Thermal Zones for Growing Spinach
- Germination & Early Leaf Stage (45°F – 65°F): Cool soil promotes quick seed sprouting and vigorous root formation.
- Optimal Foliage Development (55°F – 70°F / 13°C – 21°C): This is the sweet spot for leaf production. Spinach grows rapidly, developing thick, dark green leaves packed with flavor.
- Heat Stress & Bolting (Above 75°F / 24°C + 14 Hours Daylight): When temperatures exceed 75°F alongside long summer days, spinach shifts its energy to flower production. Leaves become thin, tough, and intensely bitter.
                  [ TEMPERATURE THRESHOLDS FOR SPINACH ]
                                     │
   ┌─────────────────────────────────┼─────────────────────────────────┐
   ▼                                 ▼                                 ▼
[ 35°F - 50°F ]                   [ 55°F - 70°F ]                  [ ABOVE 75°F ]
Slow Germination                  Peak Leaf Growth                 Heat Stress & Bolting
Seeds sprout steadily;            Rapid development of sweet,      Plants send up flower stalks;
frost-hardy down to 20°F.         tender green foliage.            leaves turn bitter and tough.
4. Types and Varieties of Spinach Explained
Selecting the right types of spinach depends on your local climate, planting season, and how you prefer to prepare your greens in the kitchen. True spinach (Spinacia oleracea) falls into three primary leaf categories:
1. Savoy Spinach (Crinkled Leaf)
- Characteristics: Deeply crinkled, dark green leaves with a crunchy texture and rich, earthy flavor.
- Cultivars: Bloomsdale Long Standing, Regiment.
- Best Uses: Outstanding cold hardiness makes savoy spinach ideal for autumn and winter crops. Excellent for cooking, sautéing, and soups.
2. Smooth-Leaf Spinach
- Characteristics: Flat, unwrinkled leaves that are exceptionally easy to wash and clean after harvest.
- Cultivars: Space, Olympia, Giant Noble.
- Best Uses: The top choice for fresh baby leaf salads, green smoothies, and quick processing. Grows rapidly in early spring.
3. Semi-Savoy Spinach
- Characteristics: A versatile hybrid featuring lightly crinkled leaves. Offers the texture of savoy types with the easy-cleaning benefits of smooth varieties.
- Cultivars: Tyee, Catalina, Reflect.
- Best Uses: Outstanding disease resistance and high bolt tolerance make semi-savoy spinach the best choice for late spring plantings.
1.Step 1: Sow Seeds in Prepared Rows:Sow seeds thin and shallow.
Sow spinach seeds 1/2 inch deep in rows spaced 12 inches apart. Lightly cover with fine soil or compost and water gently to keep the bed evenly moist.
2.Step 2: Thin Emerging Seedlings:Prevent crowding for healthy leaves.
When seedlings reach 2 inches tall, thin plants to 4 to 6 inches apart. Crowded spinach competes for light and air, triggering premature bolting.
3.Step 3: Keep Soil Cool and Moist:Consistent moisture prevents bitterness.
Water regularly to keep root zones consistently moist. Apply a 2-inch layer of clean straw or shredded leaves to lower soil temperatures during warm spells.
4.Step 4: Harvest Using Cut-and-Come-Again:Cut outer leaves to extend harvest.
Snip outer leaves near the stem base once they reach 3 to 4 inches in length, leaving the central crown intact to continue producing new spinach leaves for weeks.
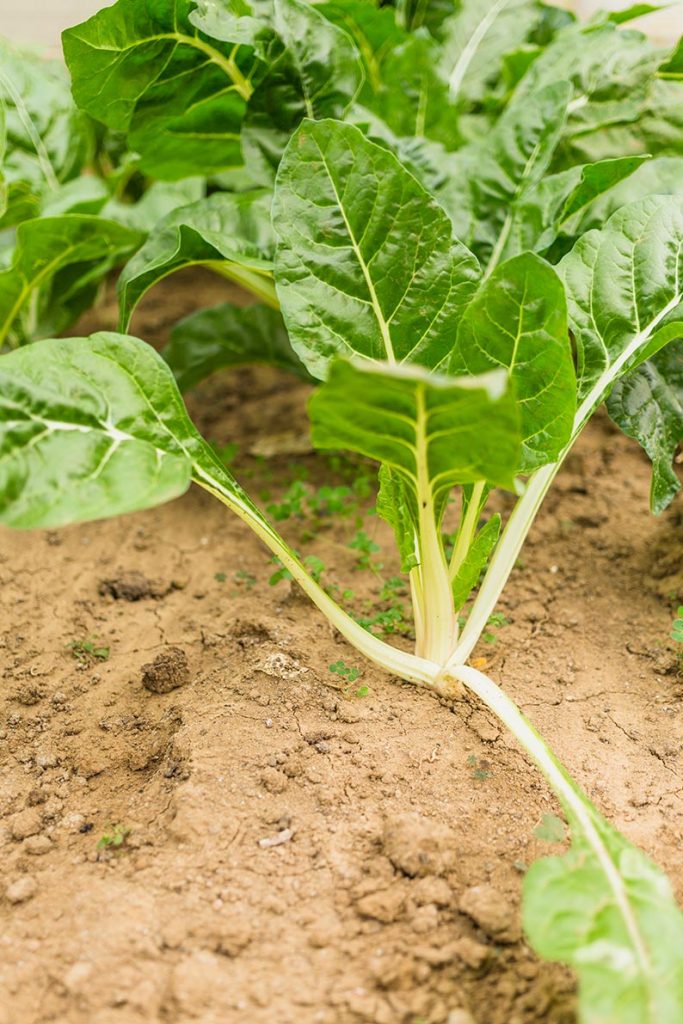
Organic Defense Guide: Managing Spinach Leaf Miners and Downy Mildew
Protecting your spinach crop from pests and diseases organically relies on preventive cultural practices, mechanical barriers, and targeted, eco-friendly treatments. Two of the most destructive threats to homegrown spinach are spinach leaf miners (Pegomya hyoscyami) and downy mildew (Peronospora farinosa f. sp. spinaciae).
By intervening early and disrupting their lifecycles, you can maintain a clean, heavy yield of healthy spinach leaves without synthetic chemicals.
1. Controlling Spinach Leaf Miners Organically
Leaf miners are the larvae of small grey flies. The adult fly lays tiny, white, cylindrical eggs in neat rows on the undersides of spinach leaves. Upon hatching, the maggots burrow directly between the upper and lower leaf surfaces, feeding on the inner tissue and creating translucent, winding tunnels that quickly turn into large brown, papery blotches.
Organic Defense Plan for Leaf Miners
- Install Floating Row Covers Immediately: Cover your spinach beds with lightweight floating row covers right at seeding or transplanting. Secure all edges with soil or pegs. This physically prevents adult flies from landing on the foliage to lay eggs.
- Scout and Crush Egg Clusters: Check leaf undersides twice a week. Look for small, parallel rows of tiny white eggs. Squeeze or scrape them off manually before they hatch and tunnel into the leaf.
- Destroy Infected Leaves Early: As soon as you spot winding white or brown mines, hand-pick and destroy those specific leaves. Do not compost mined leaves, as larvae can pupate in compost and re-emerge.
- Cultivate Soil Between Crops: Leaf miner larvae drop into the top few inches of soil to pupate. Lightly till or cultivate your growing beds late in autumn or early in spring to expose pupae to freezing temperatures and natural bird predators.
- Apply Spinosad Spray (Targeted Use): Because larvae feed inside the leaf tissue, standard contact sprays are ineffective. An OMRI-listed Spinosad spray penetrates the leaf surface (translaminar action) to reach feeding larvae. Apply early in the morning or late evening when pollinators are inactive.
2. Preventing Downy Mildew (Peronospora farinosa)
Downy mildew is a cool-weather fungal pathogen that spreads rapidly during wet, humid periods (50°F to 65°F / 10°C to 18°C). It causes pale yellow or light green irregular patches on upper leaf surfaces, accompanied by a purplish-grey, fuzzy down on the leaf undersides. Infected leaves quickly turn soft, yellow, and rotten.
                      [ DOWNY MILDEW PREVENTION SHIELD ]
                                      │
    ┌─────────────────────────────────┼─────────────────────────────────┐
    ▼                                 ▼                                 ▼
[ RESISTANT VARIETIES ]       [ CANOPY VENTILATION ]         [ SURFACE MOISTURE CONTROL ]
• Select modern hybrids       • Thin plants to 4-6"          • Use drip or soaker hoses
• Look for races 1-19 resistance • Ensure 12" row spacing      • Water early in the morning
Organic Prevention Plan for Downy Mildew
- Plant Resistant Cultivars: The single most effective defense against downy mildew is selecting resistant seed varieties. Look for semi-savoy or smooth-leaf spinach varieties rated for resistance to multiple races of downy mildew (e.g., Space, Corvair, Reflect, or Sunangel).
- Improve Air Circulation: Avoid overcrowding spinach plants. Thin emerging seedlings to 4 to 6 inches apart with rows spaced 12 inches apart. Adequate spacing allows wind to pass through the canopy, drying leaf surfaces rapidly after rain or morning dew.
- Switch to Ground-Level Irrigation: Never use overhead sprinklers on spinach. Water directly at root zones using drip irrigation or soaker hoses. If hand-watering, water early in the morning so sun exposure dries any splashed foliage within hours.
- Practice Strict Crop Rotation: Downy mildew spores survive in soil debris for years. Rotate spinach and related crops (like Swiss chard and beets) on a 3-year rotation schedule.
- Apply Preventative Bio-Fungicides: Apply liquid copper octanoate or bio-fungicides containing Bacillus amyloliquefaciens (or Bacillus subtilis) preventatively before high-humidity weather spells. Once downy mildew heavily infects a spinach leaf, organic sprays cannot cure the damaged tissue.
Pest & Disease Management Matrix
| Threat | Primary Warning Sign | Best Organic Control | Primary Prevention Method |
| Leaf Miner | White egg rows under leaves; papery tunnels | Hand-picking leaves; Spinosad spray | Floating row covers installed at planting |
| Downy Mildew | Yellow top-leaf spots; grey fuzzy underside | Bio-fungicides (Bacillus spp.); Copper | Resistant cultivars & ground drip irrigation |
| Flea Beetles | Tiny “shot-hole” punctures in young leaves | Neem oil spray; Diatomaceous earth | Row covers & keeping beds weed-free |
| Aphids | Curled, distorted leaves; sticky honeydew | Insecticidal soap; Ladybug predators | Strong water blast; interplanting alliums |
1.Step 1: Install Covers and Choose Resistant Seeds:Block egg-laying pests at emergence.
Sow downy mildew-resistant spinach varieties and cover the bed immediately with floating row covers to exclude adult leaf miner flies.
2.Step 2: Perform Weekly Leaf Underside Audits:Catch early symptoms before spreading.
Scout foliage twice weekly. Crush white leaf miner egg rows manually and remove any leaves showing early yellow blotches or internal leaf tunnels.
3.Step 3: Manage Moisture and Thin Canopies:Keep foliage dry and cool.
Thin young plants to 4 to 6 inches apart. Deliver water exclusively to soil zones early in the day to minimize leaf wetness duration.
4.Step 4: Execute Post-Harvest Sanitation:Clean beds thoroughly between seasons.
At the end of the harvest window, clear out all plant residues completely. Lightly till the top layer of soil to disrupt overwintering pupae and spores before rotating crops.
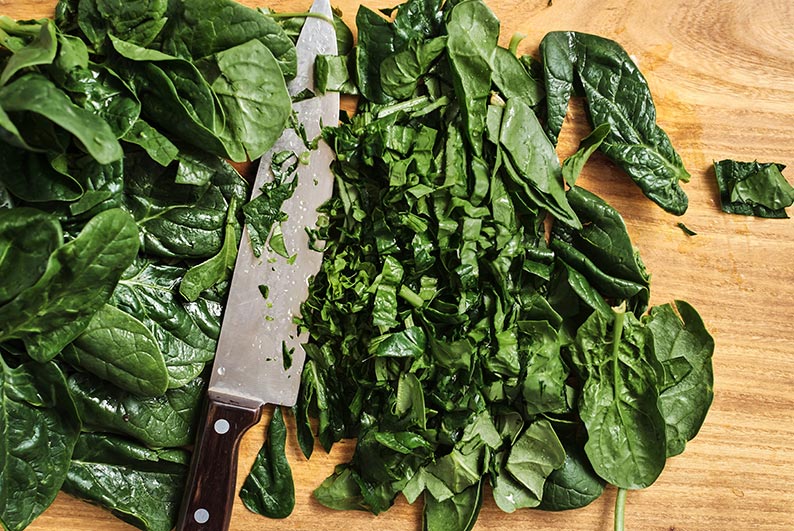
Companion Planting for Spinach: Repelling Leaf Miners and Boosting Yields
Integrating companion plants into your spinach beds is one of the most effective ways to deter destructive pests like leaf miners, improve soil condition, and boost overall leaf production.
Because leaf miner flies locate spinach primarily by scent and visual cues, surrounding your crop with aromatic herbs, trap crops, and beneficial insect-attracting flowers creates a natural defense shield.
1. Best Companions to Repel and Distract Leaf Miners
Radishes (The Ultimate Trap Crop)
Radishes are considered the top companion plant specifically for managing leaf miners.
- How It Works: Leaf miner flies prefer laying their eggs on radish foliage over spinach foliage. Because radishes are grown primarily for their root, the leaf damage on the radish tops does not ruin your harvest.
- Management: Plant radishes 1 to 2 feet away from spinach rows. Once leaf miner tunnels appear on the radish leaves, clip and destroy those leaves before larvae can complete their lifecycle.
Alliums (Garlic, Onions, & Chives)
- Scent Masking: The strong, pungent sulfur compounds emitted by garlic and onions mask the natural aroma of spinach leaves, confusing adult leaf miner flies so they pass over your garden bed.
- Fungal Protection: Allium roots release natural anti-fungal compounds into the surrounding soil, reducing soil-borne pathogens.
Aromatic Herbs (Cilantro, Dill, & Mint)
- Attracting Parasitic Wasps: Flowering umbrella-shaped herbs like cilantro, dill, and alyssum attract tiny beneficial predatory insects, such as Braconid and Chalcid wasps. These beneficial insects naturally hunt leaf miner larvae inside the leaf tissue.
- Pest Deterrent: Mint and sage possess strong essential oils that repel adult flies, aphids, and flea beetles.
2. Best Companions to Boost Spinach Growth & Yield
In addition to pest defense, certain plants improve growing conditions by offering shade, moisture control, or soil nutrition:
- Legumes (Peas & Bush Beans): Peas and bush beans fix atmospheric nitrogen into the soil through beneficial root bacteria. Because spinach is a heavy nitrogen feeder requiring vibrant green foliage growth, planting spinach near early spring peas provides an organic nutrient boost.
- Strawberries: Spinach and strawberries share a well-documented symbiotic relationship in organic gardening. They occupy different root depths and do not compete for nutrients, while spinach foliage provides light ground cover to keep strawberry roots cool.
- Tall Crops (Corn & Tomatoes – Late Spring): As weather warms toward late spring, tall crops provide light afternoon shade to keep spinach roots cool, delaying heat-induced bolting.
3. Companion Planting Reference Matrix
| Companion Plant | Target Role | Primary Benefit | Placement Distance |
| Radishes | Trap Crop | Draws leaf miners away from spinach leaves | Interplanted 6–12 inches from rows |
| Garlic / Chives | Scent Masking | Repels adult flies and spider mites | Planted along row borders |
| Dill / Cilantro | Predator Attraction | Attracts parasitic wasps that hunt miner larvae | Bed corners or allowed to flower nearby |
| Peas / Beans | Soil Enhancer | Fixes atmospheric nitrogen for leafy growth | Interplanted in adjacent rows |
| Alyssum / Marigolds | Beneficial Habitat | Attracts hoverflies and predatory insects | Edging around raised beds |
4. Plants to Avoid Growing Near Spinach
- Swiss Chard & Beets: Belong to the same botanical family (Amaranthaceae). They attract the exact same strains of leaf miners and downy mildew races, allowing pest populations to build up rapidly.
- Potatoes: Heavy feeders that draw massive amounts of nutrients and moisture from the top layer of soil, stunting spinach leaf growth.
1.Step 1: Border Beds with Alliums and Marigolds:Set up a protective barrier.
Plant garlic, chives, or marigolds around the outer edge of your spinach bed to create an aromatic perimeter that masks the scent of fresh green leaves.
2.Step 2: Interplant Radishes as Trap Crops:Divert pests away from main crop.
Sow a row of radishes 8 to 12 inches alongside your spinach. As leaf miners lay eggs on the radish leaves, hand-pick those leaves to destroy the larvae before they migrate.
3.Step 3: Allow Beneficial Herbs to Flower:Invite natural biological control.
Let small clusters of sweet alyssum, dill, or cilantro flower near the garden bed to provide nectar for micro-wasps that naturally parasitize leaf miner larvae.

Leave A Comment